It's official! I'm sick of hospitals. I won't go into the details, but I've had to visit way too many relatives in the hospital this year. This past weekend my mother gave us a scare and had to get emergency brain surgery, but she's doing well and we think everything is going to be okay. But not only can I not get internet connection in the hospital, it seems my creativity connection was blocked by those thick walls, too. I sat in the hospital room wondering what I was going to post today, "Uses for Latex Gloves" or "How to make friends in the surgery waiting room" or "How to not react when you see way too much of the patient through those hospital gowns."
But I couldn't think of anything past the titles, so my loss of creativity is your gain (I sound like a craigslist ad) because I decided to post my famous and sought after salsa recipe. Believe me when I say people invite me to functions so I can bring this salsa. I hope you have success with it, too. And here's to hoping that next week I can bring my creativity back.
2 14.5oz cans of diced tomatoes
1/4 of a white or yellow onion
a bunch of cilantro (medium sized bunch)
Bottle of sliced Jalapeno Peppers (the glass bottles)
Optional: Sea Salt, 1 fresh Jalapeno pepper
Food Processor, this works best for salsa
Put the onion and the tops of the cilantro in the food processor. If you are going to put a fresh Jalapeno pepper in, put it in now, too. Take out the seeds if you don't want it too hot, leave the seeds in if you want HOT salsa.
Also, I open the bottle of jalapenos and put about 5-10 slices of jalapeno in as well as pour about three tablespoons of the jalapeno juice in as well. Pulse this in the processor till onion and jalapeno are in small pieces. Don't over pulse.
Add one can of diced tomatoes and pulse again. Now I my food processor can take another can of tomatoes, but some can't. So just pour the mixture out in a bowl and pulse the second can of tomatoes and mix well.
I add some salt to taste. You can use regular salt...but my secret is using Hawaiian rock salt. You can fly to Hawaii and get it or go to an Asian store and buy a bag of sea salt and sprinkle it in the salsa...remember that the it takes some time for the rock salt to dissolve, so don't over salt.
There you have it. Make it for a party and watch your social calendar fill up. My grandma loves this so much she ate it on a cookie.
Wednesday, July 21, 2010
Monday, July 19, 2010
We All Want S'more

(Photo courtesy of Allrecipes)
I was standing in the candy aisle at Target on Friday and overheard a mother and son talking to each other. They were both searching for Reece's Peanut Butter Cups, the mini ones, and couldn't find them.
I love a challenge, especially a challenge involving chocolate. So without them knowing, I joined in their game. They had found the dark chocolate peanut butter cups, but that wasn't what they wanted. They had found the white chocolate peanut butter cups...who knew? They were convinced the originals were not on the shelf. That's when I had to jump in. I had found the prize. I was more than happy to point it out.
The mom then let me know that they were making S'mores using the peanut butter cups in place of a square of Hershey's chocolate. That got me. I'm still dying to try it. With traveling home from vacation this weekend I have yet to find myself a flame.
You're thinking about the concoction too now, aren't you. The traditional taste of graham crackers, marshmallows with chocolate and then a surprise.
And then I start thinking about other foods that might become married to the s'more family too. How about Rollos? Slices of banana or strawberries with your chocolate? S'mores using E.L. Fudge cookies?
And watch as my list grows. I'm throwing out a whole bunch of ideas to go along with the fabulous traditional summer treat. Click on the Idea and see if it interests you:
If you want to really spice up your s'mores and outdo the neighborhood, watch this:
Visit msnbc.com for Breaking News, World News, and News about the Economy
Let me know if you try any out and if it had you asking for s'more!

Thursday, July 15, 2010
She's Crafty! (and organized.)
If you've read any of my posts you may have figured out that I like to be organized. I don't have a huge amount of living space so that, combined with a little bit of OCD-ness, has made me come up with some creative, space-saving solutions. Not to mention, I've watched way too many episodes of "Hoarders" so I now have a tendency to go the opposite direction of hoarding--I get rid of things if I can't find a place for them. (and NO, the picture is NOT my house. I found this nightmare courtesy of Google images!) But the rule of getting rid of things doesn't always apply to MY stuff! I know...not fair! But I'm the mom and I make these rules so I can make the exemptions too!So let's go to a small room in our basement appropriately named "the workshop." It houses power tools, a workbench, paints, nails, hammers, wrenches... My husband has it full of all kinds of things he's collected over the years. But lately he's had to share that space with me and all my crafting endeavors. At first I tried to respect his space and I kept all my stuff in a large rubber tote. But over time, all the contents of that tote end up piled on his table saw or workbench. If he wants a tool he has to move a box of ribbon or a pile of scrapbook paper!
It's because of the sharing workshop situation that I've started looking at things like this craft accessory wall organizer:

And day dreaming about having a wall with cabinets all for my stuff! But then I saw this on Chocolate Sundaes. I was so excited! Thrift stores are full of shelves like that! It's not the big wall system I dream of but it's a start!
It started with my $2 thrift store find.
I sprayed it a nice barn red.
It would have been fine just painted red but I modge podged some scrapbook paper to the sides. I'm a girl and I like things pretty.
I then drilled a hole through each side to put the dowel rod that will hold the ribbon spools through.
I attached a wooden spool to one end of the dowel rod and painted it.
See how nice....
I also added a couple of accessories down at the bottom to hold scissors and other assorted items.
And finally my work of art in it's entirety...
Like I said, it's not the big wall system I dream of having but it's a start. I think it's perfect for our tiny basement work room!
Have a good weekend!

Check out the link parties I joined!


Wednesday, July 14, 2010
Baby Cakes and the Great Multi-Tasker
I know it’s cliché to talk about how women live their lives in constant multi-tasking mode and men don’t. I know it’s easy to get a laugh (from women) when we talk about our mono-tasking male counterparts and compare them to our schedule of emailing while talking on the phone as we’re agreeing to bring dinner to a friend, while checking the reviews of the newest appliances (or checking facebook), while running two loads of laundry right after we clicked on the dishwasher, while grass stains are soaking in stain remover, and we’re answering the kids questions with nods and kisses, while we’re thinking about what to make for dinner that could feed two families, simultaneously noting to ourselves that the kids have dentist appointments and we should schedule our gynecologist appointment…shiver…we toggle over to check craigslist for said appliance to see if we can get it cheaper and then we remember to pay the electric bill, tell the kids to practice their piano and/or read…but stop arguing, mentally noting husband’s keys on the desk so when he can’t find them you can tell him where they are, and picking up toys with your toes, all while feeling guilty that we didn’t have time to workout yet, but so desperately want to eat ice cream.
4 yards of 2 inch ribbon
4 yards of 1 inch ribbon
4 yards of 3/8 inch ribbon
Flowers
4 yards of scrap ribbon (to hold the diapers till you get the nice ribbon ready)
A paint stirring stick (free from the hardware stores)
Double sided tape
Glue gun and glue
A can of soup
Optional: a pizza plate


Did I say mono-tasking male counterparts? That’s totally unfair, they are multi-tasking…they are watching baseball, soccer, golf and wipeout all at once all while nodding their head at you and repeating word for word your last sentence without actually comprehending it (HOW DOES HE DO THAT?).
Well in honor of our multi-tasking-ness, I present to you the diaper cake. This little project served two purposes, I needed a shower gift (and my friend really wanted diapers) and I needed a craft post. And might I say that this turned out even better than I thought it would.
I looked for instructions on how to make these cakes and there were many that said to roll each diaper individually and rubber band them, but as a parent, I probably would have shot my friend that gave me 84 diapers all individually rolled up and secured with a rubber band. So, I found this way to do it and I love it.
To make this cake you will need:
84 pack of #2 Pampers (her brand of choice and #2 so that it could be useful a little later, but be decorative right now).4 yards of 2 inch ribbon
4 yards of 1 inch ribbon
4 yards of 3/8 inch ribbon
Flowers
4 yards of scrap ribbon (to hold the diapers till you get the nice ribbon ready)
A paint stirring stick (free from the hardware stores)
Double sided tape
Glue gun and glue
A can of soup
Optional: a pizza plate
I made a 3 tier cake and the ratio for diapers is 1:2:3, so that means 14 diapers for the top tier, 28 for the second tier and 42 for the bottom. If we were going to do a 4th tier we’d need 56 more diapers.
I started with the bottom layer first. I took the diapers in groups of three and wrapped them around the can. I faced the front side in because it had a graphic and I wanted my cake to be mostly white. I proceeded to wrap the diapers around the can but left 6 out to be the filler in the middle. Click on the images for a larger view!)
When I got all of them around the can, I didn’t worry too much about the spacing…YET. I wrapped a piece of scrap ribbon around the diapers. Then I adjusted the diapers so they were all spaced evenly (just tug those diapers).
When it was all even, I took out the can in the middle. I took the 6 diapers and stacked and rolled them and placed them in the middle where I took out the can.
I repeated the process for the other two tiers. For the middle tier, I kept 4 diapers out to fill the middle (OH, I did use a skinnier can here).
For the top tier, I didn’t use a can, I just bunched them together and I kept 2 diapers out for the middle.
Now it’s time to join the layers. You can use a dowel, but I just used something I had around which was a paint stick (plus their free). I placed the stick in the bottom tier being careful not to rip the diapers. Then I set the middle layer on and the top. I adjusted the layers so they looked even.
Then I stuck the 1 inch ribbon to the middle of the 2 inch ribbon with double sided tape.
Next, while keeping the scrap ribbon on, I wrapped the layers in the double ribbon and secured it to itself with the hot glue gun trying very hard to not damage the diapers. Then I took off the scrap ribbon and evened it all out.
I decided that I needed one more layer of ribbon, so I added the 3/8 inch ribbon after and I snipped the plastic flowers and poked them into the top taking extra care not to rip the diapers.
You can add toys, booties, bottles (for the middles), etc. to make it truly customized to your mom-to-be…on the other hand, she might just want a bowl of ice cream.
Monday, July 12, 2010
Mirror Mirror on the Wall
This idea could be the fairest of them all
(well, at least the easiest)!
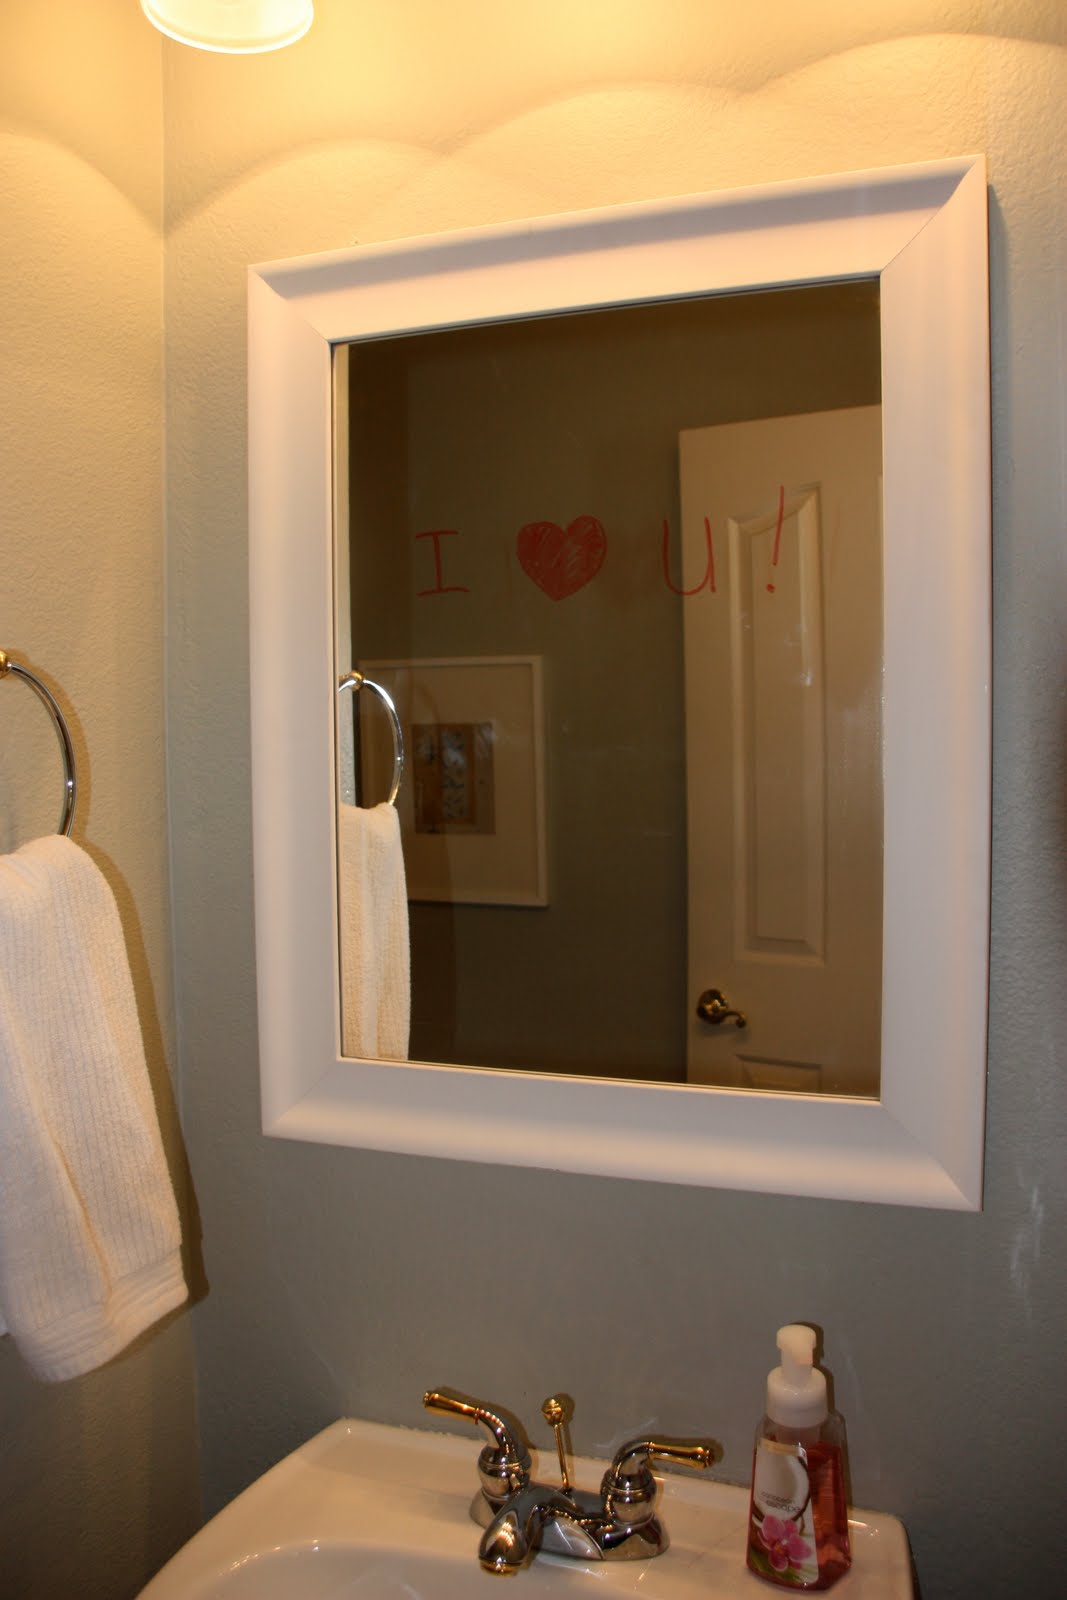
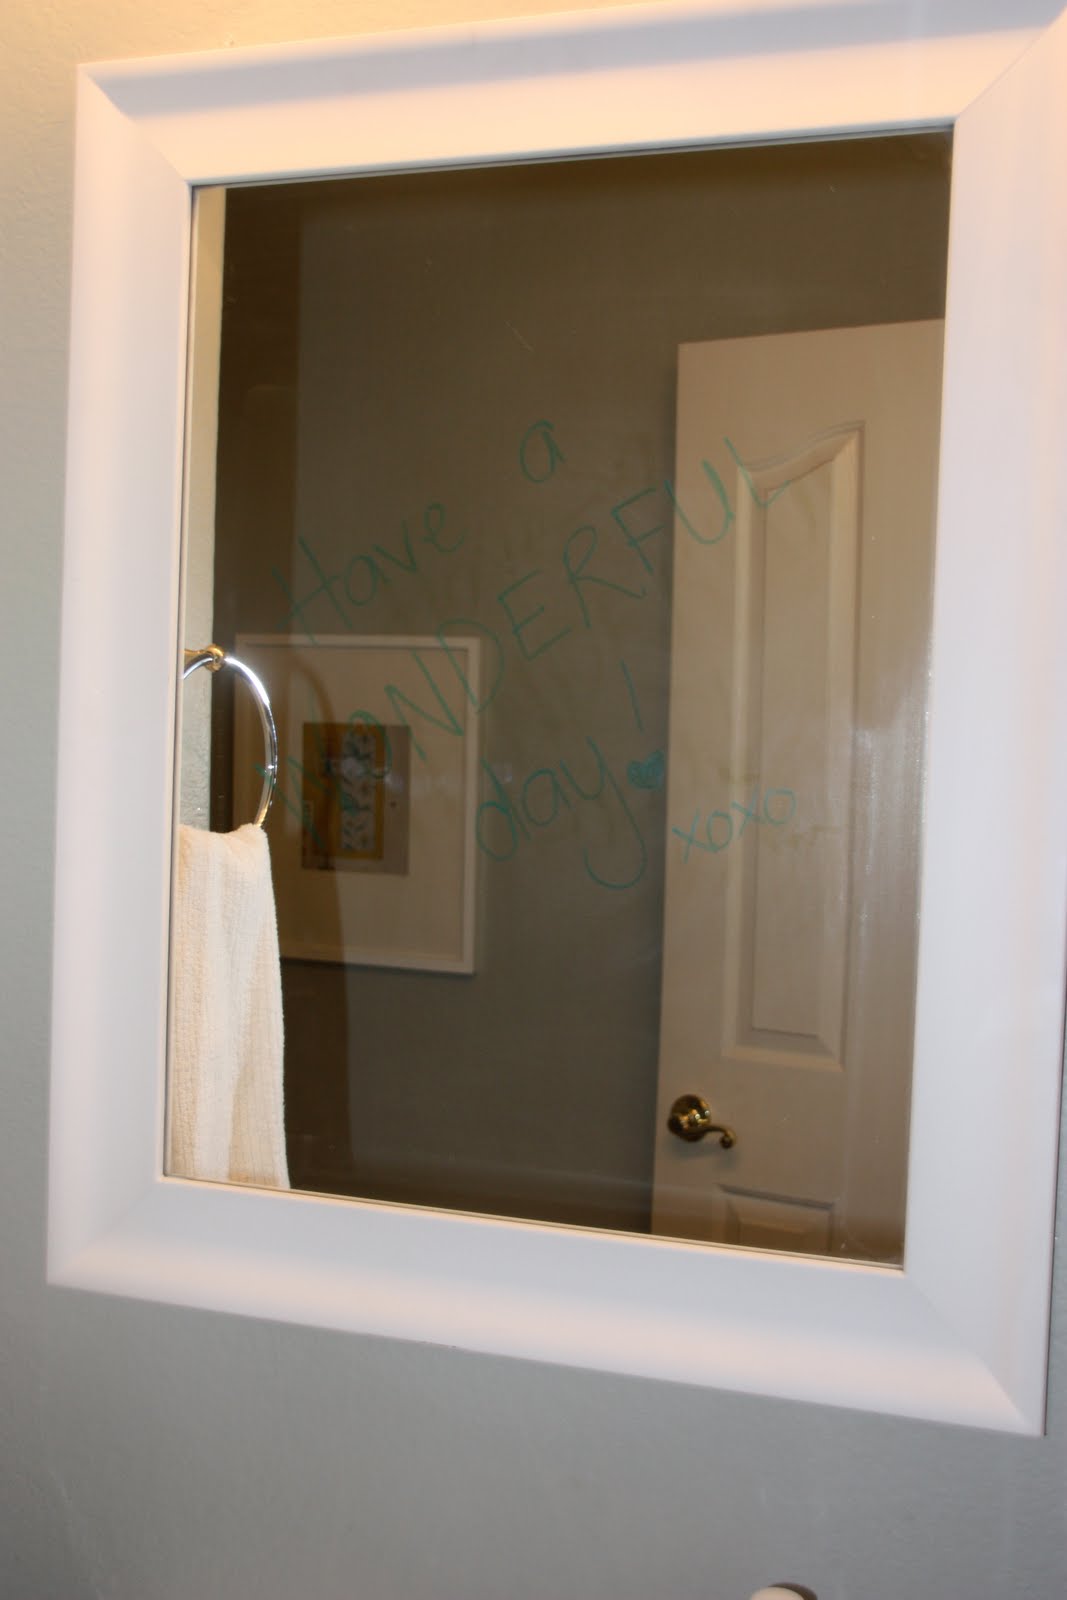
Looking for a fun way to send a message?
All you need is a mirror and a dry erase marker.


It's always fun to wake up in the morning and find a message waiting for you!
It's a great way to let your children know that you're thinking of them!
Or, keep a marker in the bathroom. If you're like me, the good ideas come in the bathroom. You can write it down before you forget, then transfer it to paper when you are done getting ready. (I have been known to get out of bed to write down a few things on the mirror before falling asleep that I'll need to remember the next day.)
Friday, July 9, 2010
Jewelry Box Makeover
It needed a little TLC. It had some weird foam pads under the pulls and a couple of the drawers needed some glue.
It had a glossy finish on it so instead of spending all of my time sanding I just gave it a light sanding and then sprayed it with primer. Do you like the shelter my husband built for all of my spray paint projects? I call it my amphitheater!

After I primed it I gave it a nice coat of "Ballerina Slipper" pink.
I removed the strange drawer pulls and painted these tiny wood balls to use as pulls. These suckers were hard to paint. The force of the air from the spray paint kept blowing them away!
I modge podged some scrap book paper onto my drawers and glued the balls on as drawer knobs.
This baby had a lot of drying to do between the spray paint, the modge podge, the knob glue....

But it sure did turn out cute! I'm pretty happy about it. I think it will pretty darn adorable in my daughter's room. It will be great to keep her little hair accessories in!

I joined these link parties!
Subscribe to:
Posts (Atom)