
________________
Wow, what an honor to be a guest blogger!
I am a busy mom of 5 monsters. It seems I love to create crafts in my head while driving kids to school, but rarely have the time or room to do them. So when I saw this cute idea, I knew I could do it quick, and even found that my kids could help!!! Imagine that!!! I actually saw this creation at a scrapbook expo and decided to copy it. I thought to myself “I can make that”…and it looked dumby-proof. I love an easy, quick craft that I can’t mess up! So, lets get on with it!

I have one of these in my daughter’s room for her to post her pictures and notes up on. I also have a large one I use for all those endless papers that come home from school. And a sweet friend of mine also gave me the idea to hang necklaces on it! Wow, the endless possibilities.

Supplies you will need are some type of magnet board (I used 11x14), 2 12x12 coordinating scrapbook papers, coordinating ribbon, buttons, magnets, and a frame. Oh, and this is the best adhesive…

Most of these items I had in my home. You can use old buttons (or I found wooden buttons in a pack of 3 at Michaels for $1.00), I had ribbon, scrapbook paper, and even used an old frame. The only purchase I made was the magnets (Wal-Mart 24 for $3.99, and I purchased the magnet board from the scrapbook expo (it was $6.99 there). I have seen them at Home Depot though, and I’m sure you can get some nice guy to cut it for you too!!!! Otherwise, they cut with scissors.


Next take your frame, remove the glass from it, and place your magnet board inside it and tighten it in place.

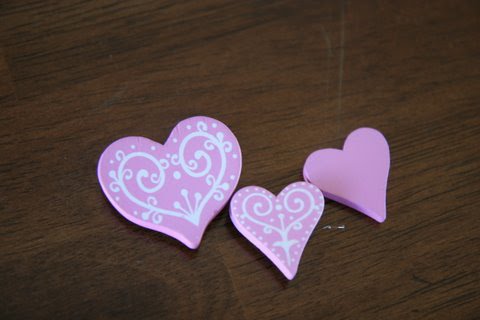


This is the project my kids loved. I think we made 60 or 70 magnets. It was fun and instantly rewarding, for them and for me!
What a fun, inexpensive display for any room in your home!
Until next time...
Heather

No comments:
Post a Comment