Showing posts with label kids crafts. Show all posts

Wednesday, April 20, 2011

Tie-Dye Easter Eggs

It's that time of year again. I think I'm the only crafter that doesn't really like to craft holiday crafts (if you followed that sentence, you've gotten more sleep than me). Last week I was too busy to post. I was making things for the auction we were having at church to raise money for the youth. I made two signs and crocheted two beanies and tried to finish the felt bunny I was making.

Before I knew it, it was Friday and all I had were fuzzy pictures of my projects. See below.

But I know many of you will be dying eggs in the next few days, so I thought I quickly put up this post for tie-dye Easter eggs. The only problem is dying eggs like this goes quickly because you can do 4-5 at a time. But you don't need any egg dye...just vinegar and food coloring (I like the neon colors).

First you arrange the eggs in the colander and splash them with vinegar. This cup wasn't such a good idea. I found out the a little 1/2 tsp or medicine dropper works best. You don't have to coat the whole egg...just pour and let it drip around the eggs.

Then take your food coloring and put one drop on a few of the eggs.

Then gently roll the eggs around.

Then add your second color and gently roll your eggs around. Don't roll them around too much, or you'll just get brown eggs...just roll a little.


Then pick them up and set them on a paper towel for about a minute or so. Then lightly rinse an wipe dry. And here they are.


There you go! I hope you have fun dying eggs. Happy Easter!

Wednesday, March 30, 2011

Sweet and Salty

SWEET

It's true. Call the presses. I'm trying to eat more healthy. And that is the reason for my posts today. So, instead of treating myself at the end of a long day with ice cream or cookies, I've been treating myself with strawberries. We are blessed to live near some farms, so there's a guy with a small stand (okay the back of his truck) that sells flats of freshly picked strawberries.

I love eating them just whole...so yummy. But lots of strawberries means...lots of strawberry baskets. I feel bad throwing these things away...I'm sure I can do something useful with them. So much to my hubbie's chagrin, I saved a few. I found some mini binder clips (and if you're looking for a post solely about binder clips, click here) and decided to attach all the strawberry baskets together. I then found a few different ways I could use them.
You can use it as an organizer for craft time with the kids!

We made a game. They had three tries and they tried to get the most points. This version helped with their adding of fractions.
Other Games:
-Put letters on the papers at the bottom and when your ball lands on a letter, you have to say a word that starts with that letter, but no repeats.
-If you have a deck of cards, you can give each person a different suit and you can try throwing your cards in the baskets to see who gets the most points.
-If you lead the kids music at church, a song can be under each of the papers and the kids can try to throw a bean bag in there.

Anyway, you get the idea.

SALTY
Because of previously stated attempt at eating healthier, I discovered that you can make your own potato chips in the microwave. You probably already knew this...but I didn't and I love potato chips so I love this.

With a mandolin slicer, thinly slice the potato.
Kinda' like so
Then with the olive oil cooking spray, lightly coat the potato slices and the microwaveable plate. Place slices on plate.
Microwave for 3 minutes first, check on them. They should be like this, lightly brown. I cooked these for a total of 6 minutes. Make sure you use hot pads to take that plate out of the microwave.
Then lightly sprinkle on your favorite flavor. I love this salt. It's so tasty! I think you can see the phone number on the bottle if you want to order. The shop is owned by a friend of a friend who is so nice. They have so many yummy spices there and the prices are so reasonable. It's better to call than go online because she gives you a ton of cooking ideas.
I like to put mine on a cookie rack to cool and crisp. Plus, I'm using the plate to make the rest of my chips.
There you have it! The Sweet and Salty of my healthier eating.

Monday, March 7, 2011

Kiss Me...I'm Irish!


Really.

I am.

My Grandpa was born in the green country before he came to this Great Land.

I won't really make you kiss me. I'll save that for the Mister and the Munchkins.

But I've always been proud of my Irish heritage.

So one might think that I would be thrilled when the 3rd grader came home last week with a "family assignment": Build a Leprechaun Trap. I was a little overwhelmed at the thought. But then we came up with this.


Yes, it doesn't look like a trap. There's more to the story:

As part of her assignment, she is supposed to write an essay about her trap and what she will do if she catches a leprechaun. She then will have to present the trap and give a speech to her class.

So I asked her what her plans were if Luck was on her side and she caught a little fella:

One might think the obvious - have them lead you to their gold. But not my little girl. The genes apparently run deep. Her plans with her little friend is to play dress up. She wants to dress him up. Did someone say "shopping"?

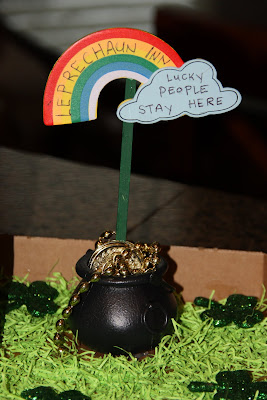
So we built the Leprechaun Inn, Where Lucky Little People Stay...Forever.

Her plans are to get him through the door, get him to make himself comfortable at the Inn, then put a rock in front of the door to trap him. Then she can lift the roof off and start her play date. Here are a few pictures of how our trap turned out:


For the materials, we bought the cardboard house at Michaels. It was under $3. Meg painted it green while I used Mod Podge and glitter for the roof. I placed where we wanted the house and then drew out a pathway. I used glitter for the path. After it dried, I used hot glue to glue the house and pots to the cardboard. For the grass, we took Easter Basket grass and I cut it up in small pieces. Meg used the Mod Podge and painted the bottom of the box then sprinkled the grass on. For the sign, we bought the pot and coins at the Party store. We bought the pre-made rainbow at Michaels and wrote on it with a Sharpie.

It came together pretty quickly.

Now wish us Luck on the essay and speech...oh and on catching the little fella...


Monday, February 21, 2011

Tank It


My oldest spends every other Tuesday evening with the girls her age at church. She is often coming home with great things. A few weeks ago, she was asked to bring a tank top to the activity. I bought a bag of 4 tank tops for about $3, just in case other girls needed one. She came home with 3 extra tank tops and one darling bag. It was cute. It was simple. And she loves it.

So the other day when she had a friend over, she asked if they could make bags with the left over tanks. This is what we did.


I printed out the first initial of their name on Word. I taped it (backwards) to the window and had the girl trace the letter on Wonder Under.

After they cut the letter out, we ironed it onto the back side of some scrap fabric that they chose. Then cut the letter out of the fabric and iron it on the tank top.

They then chose ribbon and we sewed it around the tank top.


Finally we turned the tank top inside out and just sewed up the bottom.

Turn it back out and you have a bag.


These two little girls are currently rehearsing for the school musical. They are using these bags to keep their scripts in as they go to play practice.


Wednesday, February 9, 2011

Look what CAN's can do!

This post is dedicated to my friend Jennifer who was staying at my house last week. And you know how on day FIVE you've both talked about your families, work, kids, church, kids, and families? And so you start talking about weird things like food storage. But not just food storage in general, but where to hide money in the house and your gold and silver coins....YEAH. That's what we were talking about. I know!

Anyway, Jen said that she saw a good idea about using a peanut can or something. Then you cut out the bottom with one of those can openers that leaves no sharp edges...you know the ones that cut the side of the lid instead inside the lid.  Here's a link to the one I have!

Empty the can, clean it out and  fill it with your valuables. Then you carefully glue the bottom back on and shove the can of nuts in with the rest of your cans in your food pantry or food storage.

So, yesterday while I was making spaghetti sauce for dinner and was looking at all those cans, I thought I'd try her idea....but not to hide valuables or money....to wrap presents.

So, I cleaned the cans and took off the labels.

I filled one of them with candies (wrapped) for a Valentine's gift. And the other one I put a present in for a friend. I even squished a hat I crocheted for a baby into one of these.

Then I glued the lid on.  I think I might have put too much glue, but I tried to use a toothpick to poke the glue into the crevices. (I used tacky glue for this.)

So you can see the glue squished out the top (that's why I think I used too much).

I just used my finger to wipe the excess away. Hopefully my presents inside didn't get glue on it.


I decided to wrap the cans with paper and ribbon. After using many different adhesives, the good old glue gun worked the best. If I had any more creativity, I'm sure I could have used cute stamps to decorate or write on the can...but it was late and I wanted to watch GLEE on DVR.

So this is how they turned out...


I thought this would be a good idea to disperse goodies at Christmas time because you don't have to buy a container, and you don't have to fill them up too much. And I think it would be fun to open these treats. You can use a regular can opener, or just use the grippy part to lift the lid on your No-sharp edges can opener.

-Put a piece of tissue paper inside and stack cookies almost the exact size of the can inside.
-Fill the can half with raffia and put movie tickets and some bags of m&m's inside for a quick birthday present.
-The small cans are perfect for lipgloss, chapstick, erasers, or any small gift.
-Or you can always fill it up with cash and store it next to your green beans.

Whatever it is...."You CAN do it!"  Cheesy, I know...but a can of creamed corn to whoever can name the movie first...

Friday, December 3, 2010

Cute as a Button!


I saw today's project in the Holiday issue of Crafts 'n Things magazine. I knew this cute Button Christmas tree was right up my alley! The supplies were easy to find and I could do it after my kids go to bed and still make it to bed at a decent time myself!

This is all that I needed...


A styrofoam cone, pearl ended pins and a whole lotta buttons!


And here's what I made...


So cute! And kid proof....my four year old doesn't want to touch it because he knows it's full of pins! Hee hee!

Happy Holidays!


Monday, November 29, 2010

My Magic Wand


Forgive me for the late post...

Last Monday, we made a quick, last minute decision to get out of town quickly. We were planning on driving to my homeland on Tuesday, but after watching the weather on Monday, we jumped in the car to beat a blizzard. Apparently we scared it away. After making the drive, mostly through the night, and two trips to Target to prepare for a two day hopeful shut-in... Well, let's just say we were prepared and disappointed. However, I did get to play with Noreen for a short time.

This morning, I am playing host to 3 flu sick kids. My washing machine has been in constant motion since 4 am. Am I bad (or just honest) to admit that I don't mind my little guy getting sick. He's so lovey and cuddly and ... still. I'd do anything for him right now (which could take me on a tangent of why I think men are babies when they get sick because their moms were so happy to have them sit still). But today, I'd give anything for a magic wand to make them all better.

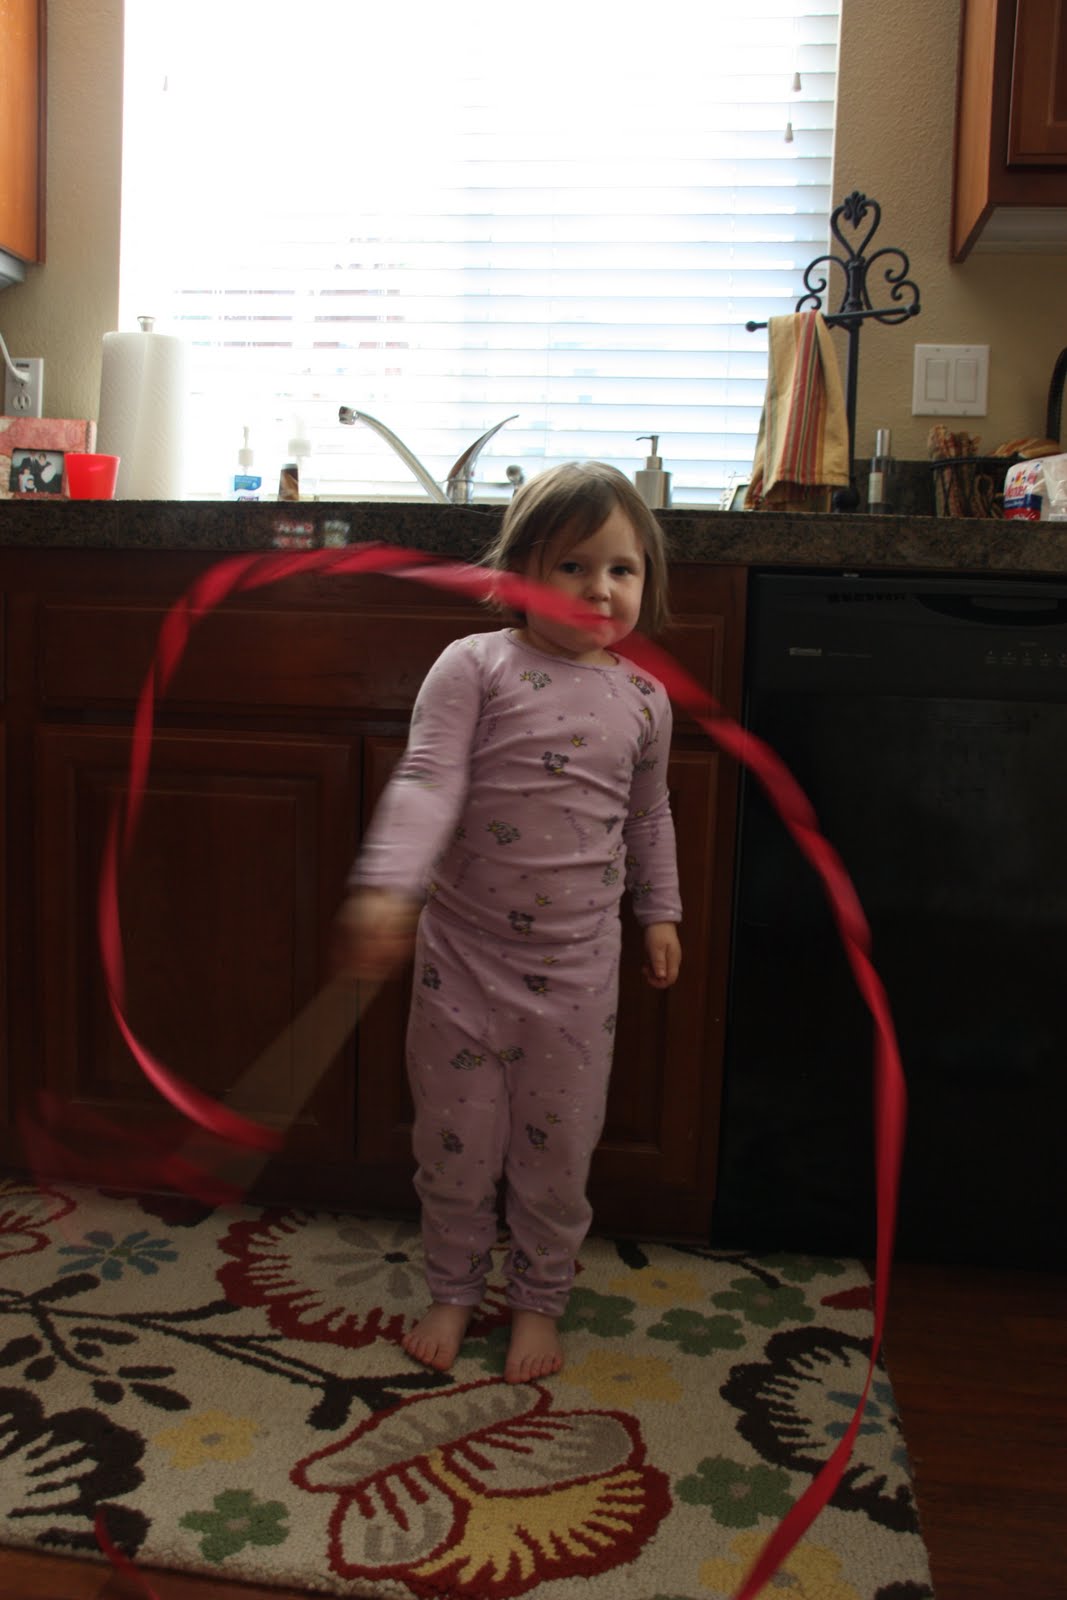
But since I can't find the magic, we just made a wand to try to entertain the sickies.


Here's what I had:


* a dowel
* an eye screw
* silky ribbon (I did about 6 feet)


1. Screw the hook into the end of the dowel.


2. Fray check both ends of your ribbons. Then tie one end to the hook.


3. Let them play.


I'm off to make some chicken noodle soup...and fold more laundry.