So I totally missed last week, but we were Oh-so-busy. I figured you were all, too...so you'd forgive me. I actually had a very cute craft for last week, but just couldn't find the time to sit and blog about it, so I'm saving it for next year. :)
Today's idea came out of necessity. While we love the new house, we don't love the little draft that comes through the front door. This is how the husband has taken care of it:
Kind of creative...right? Yeah, so he asked me to come up with a nicer solution. So I looked around. There were some really creative door draft blockers (or whatever the name of this contraption is), there were dogs and snakes and other fun animals, but I'm a simple gal that likes the look of simplicity and also likes to make simple things so I just made this...
There's a perfectly good explanation for the white at the end of this door draft blocker thingy...but I'll explain later.
So, you will need fabric that is about 2-3 inches longer than the width of the door and at least 8 inches wide (the one shown at the bottom of my door was a 12 inch wide piece because there is a riser on the bottom of the door frame and the draft comes in above that so I needed a pretty big draft blocker).
You'll also need a sewing machine, needle and thread, scissors, a chopstick or pencil and a bag (or more) of kitty litter.
I've done it before with rice, but I read somewhere that if you did it with rice or beans, it would attract "pests" so one suggestion was kitty litter and it was cheap. It was $1.50 for this bag.
Cut your piece and then pin right sides together to form a long tube. You will sew down the long side and down one short side (you have to leave a side open to turn the tube around and fill it up). Please note that these pictures are of the first one I made where the fabric was 7 inches wide. After filling it up, I realized that it wasn't tall enough for the raised bottom of the door frame, so I had to cut a different tube that was from a piece of fabric 12 inches wide. So that's why these pictures the tube looks so skinny and the final one looks so fat!
I sewed a double stitch because in case one of the stitches came loose, I wanted a back up stitch so I didn't have kitty litter all over the place.
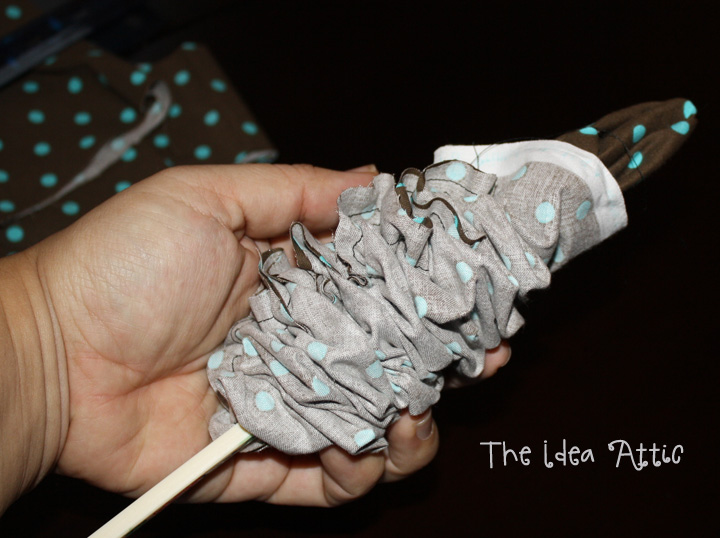
I used the chopstick to turn the tube right-side-out and also to poke out the corners so they are crisp.
Now it's time to fill it up. If you are like me, you didn't want to use your kitchen funnel to fill the tube up with kitty litter, so I cut the top off of a 2-liter bottle and used it to funnel the kitty litter in. I cut the bottom of the 2-liter bottle to use as the scooper as well.
When it's full you tuck in the edges and hand-sew it shut. I don't have a picture of this because I haven't hand-sewed mine yet. For my large and in charge draft blocker, one bag of kitty litter wasn't enough, so I just knotted the end until I can run to the store.
But for now, our rug is folded up and there is no drafty air coming in. And now that my sewing machine is out, I can fix all the clothing items that I said I would "get to" sometime.
And for those of you who were interested in what our christmas card display described in
this post looked like this year, here it is:
Happy New Year!