I'm the daughter of a daughter of a Great Depression survivor. I don't get sick very often and I credit to both my grandma and my mother because they are very frugal. When we were little, my mother would cut off the moldy parts of the cheese and keep serving. This gesture isn't that bad, but she'd also scrape mold off a main dish and heat it up and serve. Meat was always left out too long (as if we didn't have a refrigerator), milk was drunk past the expiration date...we had stomachs of steel. But no matter what we were NEVER, NEVER allowed to waste.
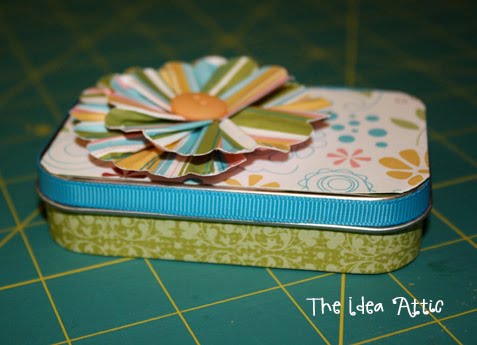
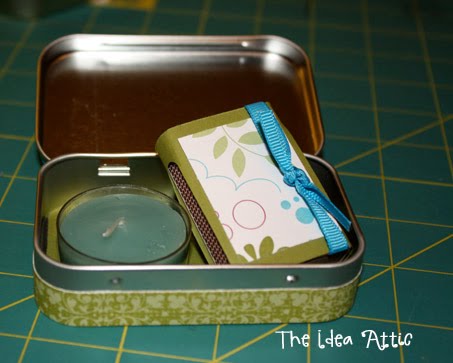
Which brings me to Altoids tins and Ice Breaker containers. I love both of those types of mint and I feel very bad everytime I have to throw away a container. But I can't just keep all those tins and container can I...or can I? I've been mulling this topic around in my head for months. And this past week for my birthday, a dear friend of mine made me this very cute present....isn't this travel candle divine? (Using the word divine make me feel like a Disney Princess.)
So, I dusted off my list and here are some ideas you can do with Altoids tins or Ice Breaker containers.
1. Purse-sized first aid kit...example
here,
2. Tooth tin for the tooth fairy
3. Purse-sized sewing kit
4. Earphone container (I love this because now my earphones are never tangled up)
5. Change purse
6. Crayon container
7. Carry your sweetner of choice
8. Carry your pins (hair pins, safety pins, etc.)
9. Decorate them for party favors (filled with candy or lipgloss, etc)
10. Emergency candles or decorative (
click here for tutorial)
11. Glue some strong magnets to the back and it can hold other magnets on your fridge, or twisty ties (it's those depression girls again that save the twisty ties)
12. Traveling intimacy kit (condoms, chocolates, wipes, etc.)
13. You can create a memory game that fits in the tin (using pictures of your family might be fun).
14. I've used them to hold jewelry when I'm traveling.
15. I've given them to the kids at the beach and say that if it can't fit in there, they can't bring it home.
16. Gift boxes for small presents.
17. Nice snack container for cheerios, etc.
18. When you're in another country it keeps your toilet paper dry and intact as you tour around.
19. Fill it with quarters and give it as a gift to the graduate who is off to college and staying at the dorms...laundry money.
20. Bragbook or Memorybook - see tutorial below
21. Of course you can always use it to hold mints and candy and stuff...
Now when I decided i was going to do a bragbook/memorybook I looked around at some people have done like
this or even
this.
But, I am lazy and am not a very good scrap booker...so I'm going to show you the very easy way to make this.
I have a cutter, so it was easy for me to cut out the exact size of paper...but since I know not everyone has a cutter, I made
this pdf so you can download it and use these as templates for your project. I traced the shape over the section of the picture I wanted to show. [It's easy to do this if you hold your photo up to the light...you can see exactly what you want to cut out.]
Then I glued the pictures to the cardstock and on the back I glued a slightly smaller piece of paper where I wrote what was on the picture.
I took a piece of ribbon and glued a tiny section to the bottom cover. This is so it's easy to take out the pictures.
I'm sorry...I didn't have very cute cardstock to make this the prettiest project, but you get the idea. I'm going to make one of these for my mom with pictures of the kids all in there. She can carry it in her purse and she'll always have them near...and they won't have to eat moldy cheese.


