Showing posts with label Christmas Ideas. Show all posts

Monday, December 27, 2010

You Better Watch Out!

What? Christmas is already over? Cover your ears then because I've got one more Christmas Idea. File this one away or better yet, take advantage of Christmas clearances happening right now!

I found a flaw in buying and wrapping presents early "so you can enjoy Christmas even better."

It leaves you available to browse blogs a few days before Christmas and happen upon an idea that you have to have. And because everything's all ready, you decide you can do it in time for this Christmas.


I came upon this idea at HowDoesShe.com. It's a bag for Santa to put presents in.

There always seems to be a dilemma of whether Santa should wrap his presents or let them sit out. I grew up with Santa having his glory out and ready for us. But as I read this post about Santa bags I decided that it would be a fun surprise to unveil Santa gifts (the ones that fit in there). So I decided to give it a try.

I thought I'd make them pretty much like pillow cases. But I wanted them to be special. So I got material to add each person's initial as well as a sash to tie them all up.

I started with a yard per person for the body of the case and 1/2 yard of coordinating material (all total, I bought 6 yards of the Christmas material and 2 yards of the coordinating material). How cute is my Christmas material? It's cookies with a bite taken out of them. Perfect for Santa!

I cut the main material into a yard each. I cut the red fabric into 6 inch strips (I cut it down the length of the two yards to make it long enough to tie a pretty bow).


I angled the sides of the sash. I cut different angles on either end.


I ironed the ends in to create finished edge. I then ironed the entire sash in half lengthwise (right sides together). I sewed the entire length of the sash (leaving the ends open). I then turned the sash right side out. After ironing it. I closed off the ends by sewing on the outside so you can see the stitching.


I then put the initial on the main body. I did this before sewing the case together. I found a font that I liked on word and enlarged it to the size I wanted. I then followed my WonderUnder instructions to put it on. I placed it about 1/3 from the bottom, centered on one side (the case was folded in half when I ironed it on). I then did a top stitch around the letter.


I then sewed the body together. Place right sides together and sew down the side and then bottom.

We placed these next to our stockings before going to bed on Christmas Eve and Santa placed them in front of the tree.


If you want something like this too, Christmas fabric is on clearance. OR, you can find an already made Christmas pillowcase on clearance and just make a sash. These turned out so great and I'm excited to make this a new family tradition.

Monday, December 20, 2010

The Most Wonderful Time...

It is the most WoNdeRFuL time of the year: it's mid day. My kids are running around the house still in pajamas. Each room has marked territory that children actually live in this home. And my meals today have consisted of the treats people drop off. Dark Chocolate Peppermint Moose Munch anyone?

There is no room on my tables to craft today. Last night the Elf (on the kitchen chandelier instead of "the shelf") brought the kids sun catchers to paint. Today, the goal is to put together the gingerbread houses for decorating with the cousins tomorrow. I'm trying hot glue this year because no one ever eats the house and the hardest part of assembling the houses is holding it straight while the frosting dries. So I'm trying something new.

Today I thought I'd share some of my favorite things around the house during this time of year.

*** The first idea is the Santa picture display.

When my oldest was only six months old, we took her for her first experience of sitting on Santa's lap. I was hooked. Look at this picture. I adore this moment and had to make it a tradition.

As I decorate for Christmas, I take down all the family pictures that are framed and around the house and I replace them with the Santa pictures throughout the years. One of my favorite things to do is to stare at the pictures at night, after the munchkins are asleep, and wonder where the time has gone.

And I don't shy away from the crying pictures. In fact, they're my favorite.

I think I jinxed myself this year. My 13 month old daughter is a mommy only kind of girl. During our visit with Santa this year, I held her while the kids where letting Santa know what was on their most wanted list. When it was time for the picture, I told Santa, I don't mind crying pictures. She will probably cry. So don't stress about trying to make her happy. I think the crying pictures are sweet memories. So I placed my baby on his sleigh for the picture. Not only did she not cry, she smiled. I admit. I was a little disappointed. I assume this will be my last opportunity to have one of those moments.

*** My second idea to share is my Christmas Card display.

I have tried many different ways to share the great cards that fill our mailbox this time of year. I've tried attaching them to the garland on the stairs. I've tried attaching them to the garland around the room. I've tried taping them to the back of the door. The problem is, I start with good intentions and then fail at keeping up. So I came up with a different idea.


As the cards arrive, we place them in a Christmas tin on the dining room table. We are able to sort through them and look at all the pictures. At the end of the holiday, I then place them into a book. I buy an art pad at Michaels and cover the front in holiday paper. I make sure the year is on the cover. I always start the year's collection with our own Christmas card. I then glue the cards on the pages. We keep the books sitting on the dining room table. The kids love to look through them and see their friends and family and how they have changed throughout the years.


*** My third idea for the day are our Christmas books.

I shared during Halloween that I like to keep my Halloween stories packed up with my decorations. I do the same thing for my Christmas books. It is one of the boxes that the children are most eager for when we are setting up Christmas (and it usually keeps them entertained so I can focus on decking the halls "my way". ;) So when the books come out, we place them in a large basket by the fireplace in the family room. I keep a CD player there because we have a few stories that are on CD with the book. There are also a couple Santa hats in the back of the basket if one chooses to read with a Santa hat on. And I have a child friendly nativity that I keep in the basket. The kids love to choose Christmas stories to read for bedtime, but I also find them during the day sitting around the fireplace reading the Christmas stories.


Here's to a Wonderful Holiday Season!

Friday, December 17, 2010

Quick and Easy Gift Idea

If you're like me, you love this time of year and you love giving small gifts to the people you interact with daily and that you appreciate. BUT...it can get overwhelming! Before you know it, you find yourself up to your eyeballs in candy and glue at 2:00 AM wondering what in the bleepity bleep you got yourself into!! So this year I resolved to keep it simple. When I was brainstorming gift ideas and found my mind wandering to big and grand ideas, I'd reel myself back in!

So here's my idea for co-workers, school workers, day care workers, neighbors, etc.


I started with a super easy cookie recipe for Peanut Butter Cup Cookies.


Mix up the dough as directed on the package. Roll into small balls and fill a mini muffin pan.


Bake as directed. Immediately after removing them from the oven, press a peanut butter cup down into the baked cookie.


Let them cool (you can put them out on a patio table or garage if it's 15 degrees out and it will speed up the process significantly!) And carefully remove them from the pan.


Meanwhile... I prepared the bags to put the cookies in. I found these colorful lunch bags at my local grocery store in the card and party aisle (Schnucks, if you're a Missourian!) They were only $.25 each! I wrapped the cookies in plastic wrap and dropped them into the bags.


And to close the bags...

I spray painted a bunch of clothespins. These are $.97 for a pack of 50 at Walmart!


I cut some scrapbook paper and modge podged it onto the clothespins.


After that dried I flipped them over and glued a small magnet onto them.


And once that was all dry, I sanded them a bit and rubbed a tiny bit of distress ink to give them some character. Then I clipped them onto the bag.


Now they have a bag full of goodies and a magnet clip for their fridge!

I have a bunch of these on my fridge and they are great for pictures, lists, coupons,artwork, etc!


Merry Christmas!!


Wednesday, December 15, 2010

Some gift ideas, Christmas Card Display & a Yummy Treat

The count-down to Christmas is so exciting. Christmas cards - check, gingerbread houses - check, rearranging the ornaments on the tree after the kids go to bed - check, Christmas shopping - check...oh wait, what about those neighborhood and office gifts. Yikes!

There are so many people and we budgets are tight this year. Even baking and making treats are pretty expensive activities. So I'm going to share some quick and inexpensive Holiday gifts I've done accompanied by a suggestion of copy for the gift tag. Scroll down and you can see my new way of displaying our Christmas cards and don't forget to get all the way down for a fabulous yummy treat my friend gave me the recipe for after I pretty much inhaled her dessert.

1. Hand soap. One year I made foaming handsoap which is so easy. You buy a foaming pump dispenser from here or someplace like that supply store. You buy a scented soap base and fill the dispenser about 1/3 of the way and then fill the rest with water.  I don't have a picture...although I think one of my co-workers still has it on her desk from last year, but you get the idea. Or you can just buy a soap from the dollar store and attach this to it :


‘Tis the season for family and friends,
And your to-do list that never ends.
‘Tis the season of kisses and hugs,
And those viruses, bacteria and bugs.
So as you spread goodwill toward man(s)
Don’t forget to wash your hands!


2.  Door bell or star. These cute antique door bells are on sale at Michael's right now for only $.64. Then you take ribbon you bought at after-Christmas sales from last year and just make a pretty bow.


The Holidays are here - what a celebration,
Except sometimes they're full of stress & frustration.
So here's a little bell (or star) to hang on your door
To remind you again what the 25th is for.
As you open your home and hear this bell (or star) of tin,
Let the real spirit of Christmas come and enter in.

(Just letting some of my friends know that I dibs this this year. Some of you may be getting this.)


3. Home spray infused with essential oils. You can see the tutorial here. I think that was my very first post. I just wrote on the card:
 

Infused with Lavender & Chamomile, this spray helps calm the soul, allowing you to enjoy friends, family and the coming of the New Year.


CHRISTMAS CARD DISPLAY 
We've always just taped our Christmas cards to the wall every year, but then the kids got carried away the tape or the cards wouldn't stay on the wall and then our friends would come over on the day their card fell off the wall...how embarrassing. Anyway, this year we decided to make use of the blinds that always stay closed and some clothes pins.  I found a bag of many snowflakes at Michaels for $2.49 and glued them to the cloths pins I found for $1.49 at Walmart. And then we just clipped the cards to the blinds. It looks really cute.


YUMMY PEPPERMINT PIE (or cake...whatever) 
1/4 cup butter
1 pkg oreos (crushed)
Container of Peppermint Ice Cream
Hot Fudge
Container of Cool Whip
Crushed up peppermint candy
9x13 pan

Crush the oreos and mix with butter and press into pan making an oreo cookie crust. Keep about 4 Tablespoons of crumbs to decorate the top.


Take your softened container of peppermint ice cream and spread over oreo cookie crust and smooth the top.

Drizzle hot fudge all over the peppermint ice cream.


Spread softened cool whip all over the hot fudge and ice cream. Then top with left over oreo cookie crumbs and crushed peppermint. Put in the freezer for a few hours to harden. Serve and then MOVE OUT THE WAY, because people are going to be knockin' you down to have a treat.


I hope your Christmas and Holiday season is filled with joy and love with minimal stress! :)
Sew Much Ado
Someday Crafts 
Blue Cricket Design 
The Trendy Treehouse 
Hope Studios 
Paisley Passion 
Allie Makes


Monday, December 13, 2010

Christmas Clippies

Today, we're talking hair clippies. Hair clippies for the Holidays. And it all started when I had a friend drop off this cute little clippie she made for us just before the Thanksgiving holiday. How adorable! Right?


I love little clippies. Especially because I have 3 kiddos of the female variety. Lucky for me, I love hair too! (Between you and me, I secretly wanted to go to hair school instead of college but knew my dad wouldn't approve. His career has been in higher education administration, which is why he's biased. So I became a teacher. And met Noreen and Melissa -plus 4 other roomies-. But someday... )

So after falling in love with this little turkey on my turkey, my mind started going...

And I've come up with two new ideas.

The first is this little Christmas tree clippie.


All I needed for this were:


I started by covering the clip like I did in this POST.

I then cut six strips of the green ribbon (2 each of three sizes):


I fray checked the ends with my lighter. I then put a dab of hot glue on the edge of one and folded it over - having only the ends glued together like this:


I then started hot gluing the layers on. Starting with the longest loops on the bottom and working my way to the smallest loops on top. I actually glued my star onto the top layer before I glued it to the clip.

And wah-lah:


Then I really tried to be creative and come up with a snowman clip. I actually ended up putting this one to a headband instead of a clip.


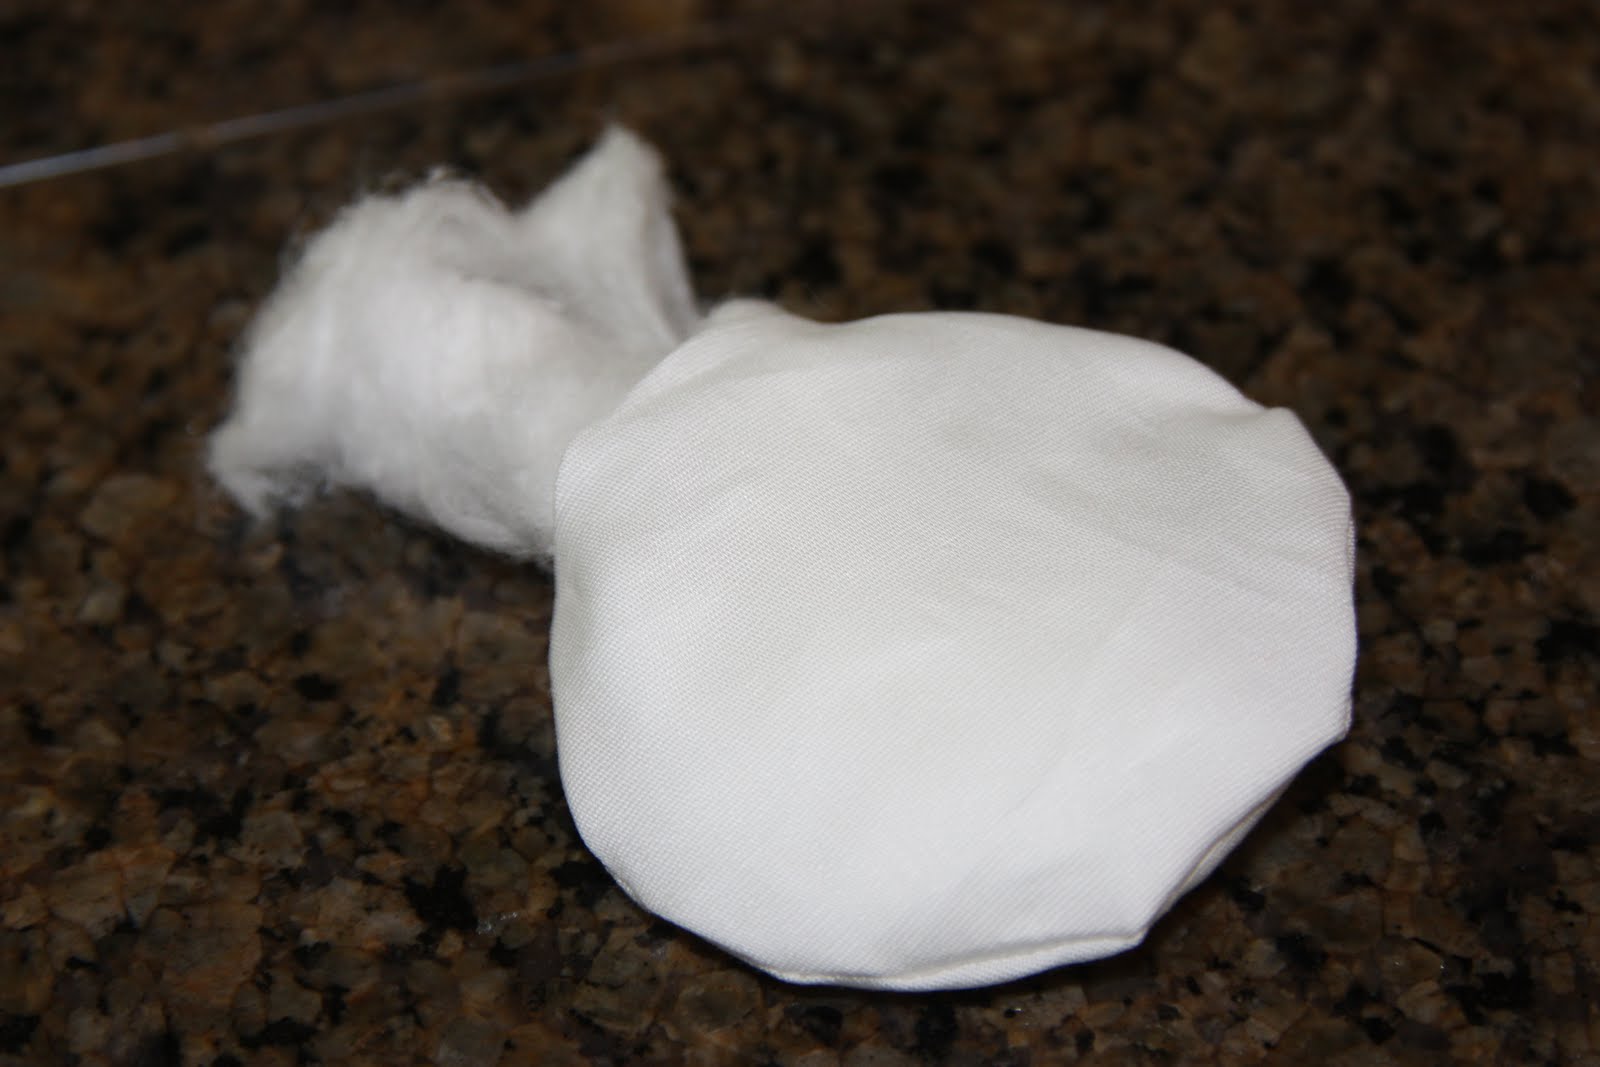
I started by cutting two circles out of white fabric and sewing around it, leaving an opening to turn and stuff.


I then hot glued a button for the face, with googly eyes, a carrot nose, a black hat, and a red scarf.


And I hot glued it to a head band like I did in this POST.

Now, does this mean I need to make 2 more so all three girlies can match?


Friday, December 10, 2010

What WOOD you do?

I was kicking around the workshop trying to get some inspiration for my upcoming post. As I was looking at my collection of crafty odds and ends, I noticed my husband has quite a collection of odds and ends as well....odd pieces of wood. There are scraps of wood he's saved from various projects in a stack under the work bench. So I grabbed couple pieces of 2x4 and cut some random size blocks.


Then I painted those blocks. (should have primed them because this bare wood drinks up craft paint!)


Modge Podged some scrapbook paper and letters on them....


Sanded and distressed a bit...


And we have ourselves some cute blocks! (just in time for a weekend with snow in the forecast!)


And the with the leftover blocks, can you guess what my son and I created?


Some paint, wood glue and twigs from the yard....


Isn't he cute? Mason did a great job!


Have a good weekend!